User Administration
Prerequisites to Manage Users
List of necessary requisites to manage users in BotReady:
- Technical user group, authorized to manage and administrate Robots.
Note: You can find information on how to configure the groups of access permits in Section: Administrator Guide - Group Administration
Security – User Management
Access
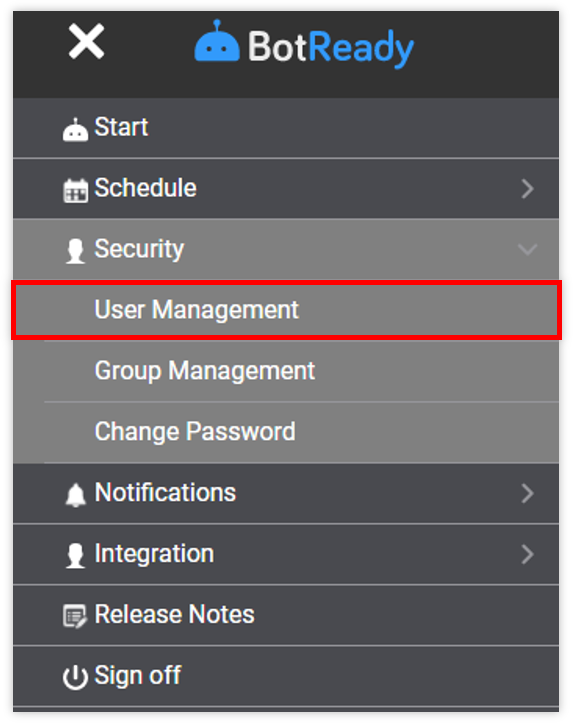
In order to access the user management section, you must select the corresponding option on the application menu; on the upper left margin, access the drop-down menu, go to Security, and select the User Management option.
 It accesses the User Editing section. (See subsection Editing a User)
-
  It disables the BotReady user.
(See subsection Deleting a User)
 It removes the filters loaded in the screen.
Registering a User
To register a user, you must:
- Fill out the required fields on the User Data section.
- Assign the groups of permits from the Assign to Groups section.
- Confirm the registration by selecting the Save button.
User Data
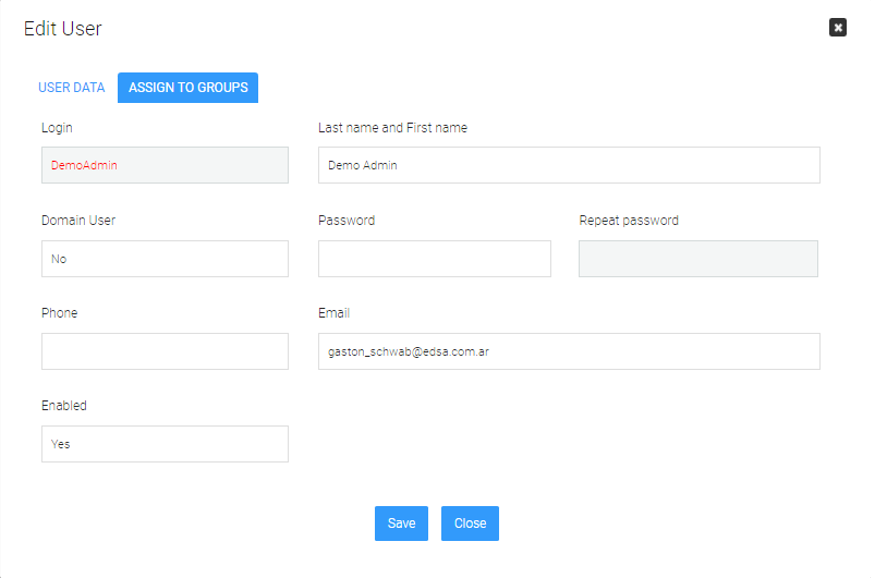
On the User Management screen, once you click on the Add button, the system displays the following screen: Insert User. The system displays by default the USER DATA tab, in which you may fill out the following fields:
- Login
- Last Name and First Name
- Domain User
- Password
- Repeat Password
- Phone
- Enabled
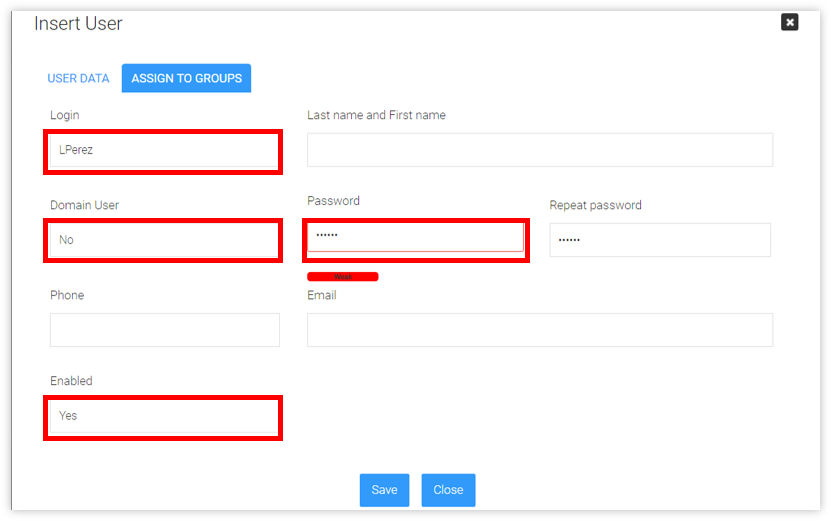
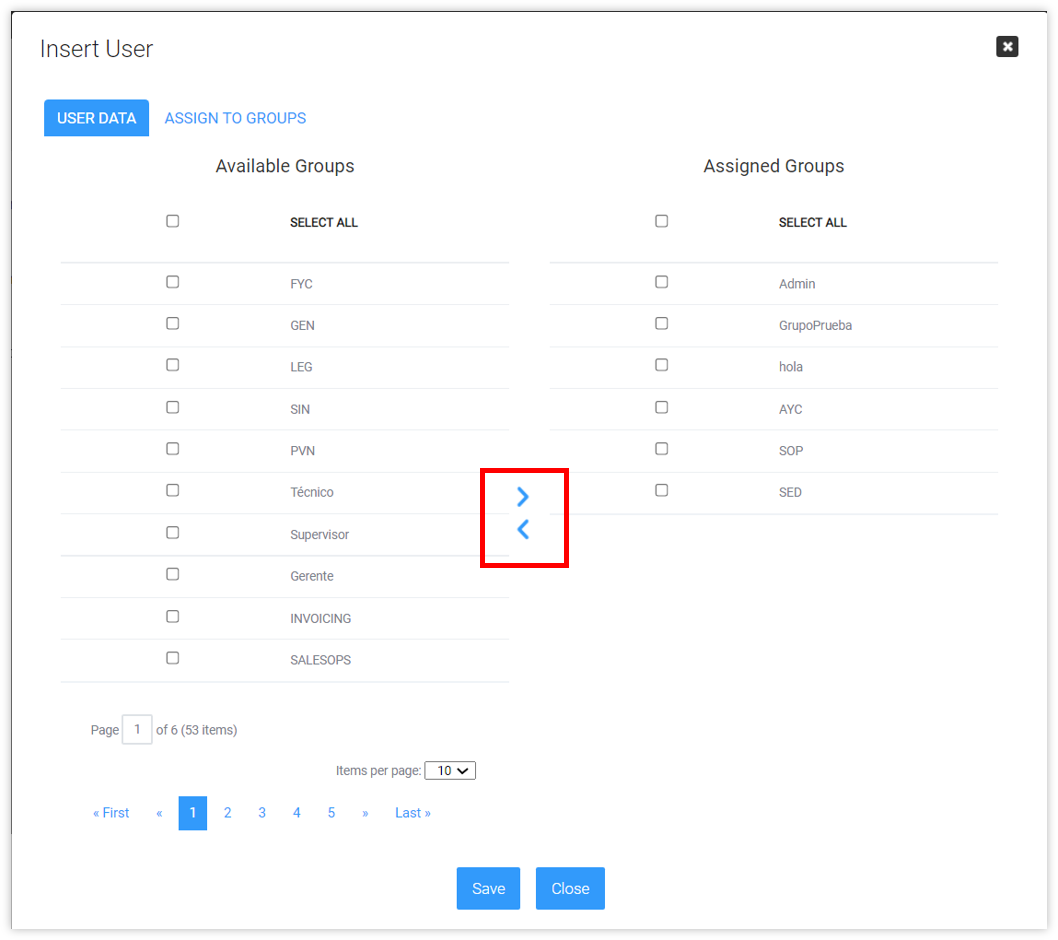
> **Note**: The fields highlighted in red are required to register the user. The remaining fields are not mandatory. > **Password Characteristics**: The password field must: >* Be at least 8 characters long >* Include a lower case letter >* Include an upper case letter >* Include a special character >* Include a number #### Assign to Groups To complete the user parameterization and assign the corresponding permits, you must access the **ASSIGN TO GROUPS** section of the user registration tab. The system will identify the available groups, the groups of permits and the groups of Robots assigned to the user.
 button.
After this action, the system displays a confirmation message:
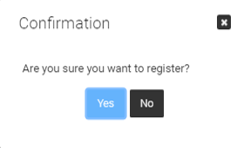
 button or on the
  button
After this action, the system displays a confirmation message:
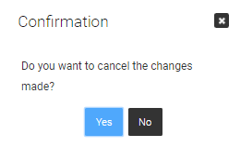
 button on the grid of the User Management screen. After this action, the system displays the Edit User screen. The system displays by default the USER DATA tab, in which you may modify the following fields:
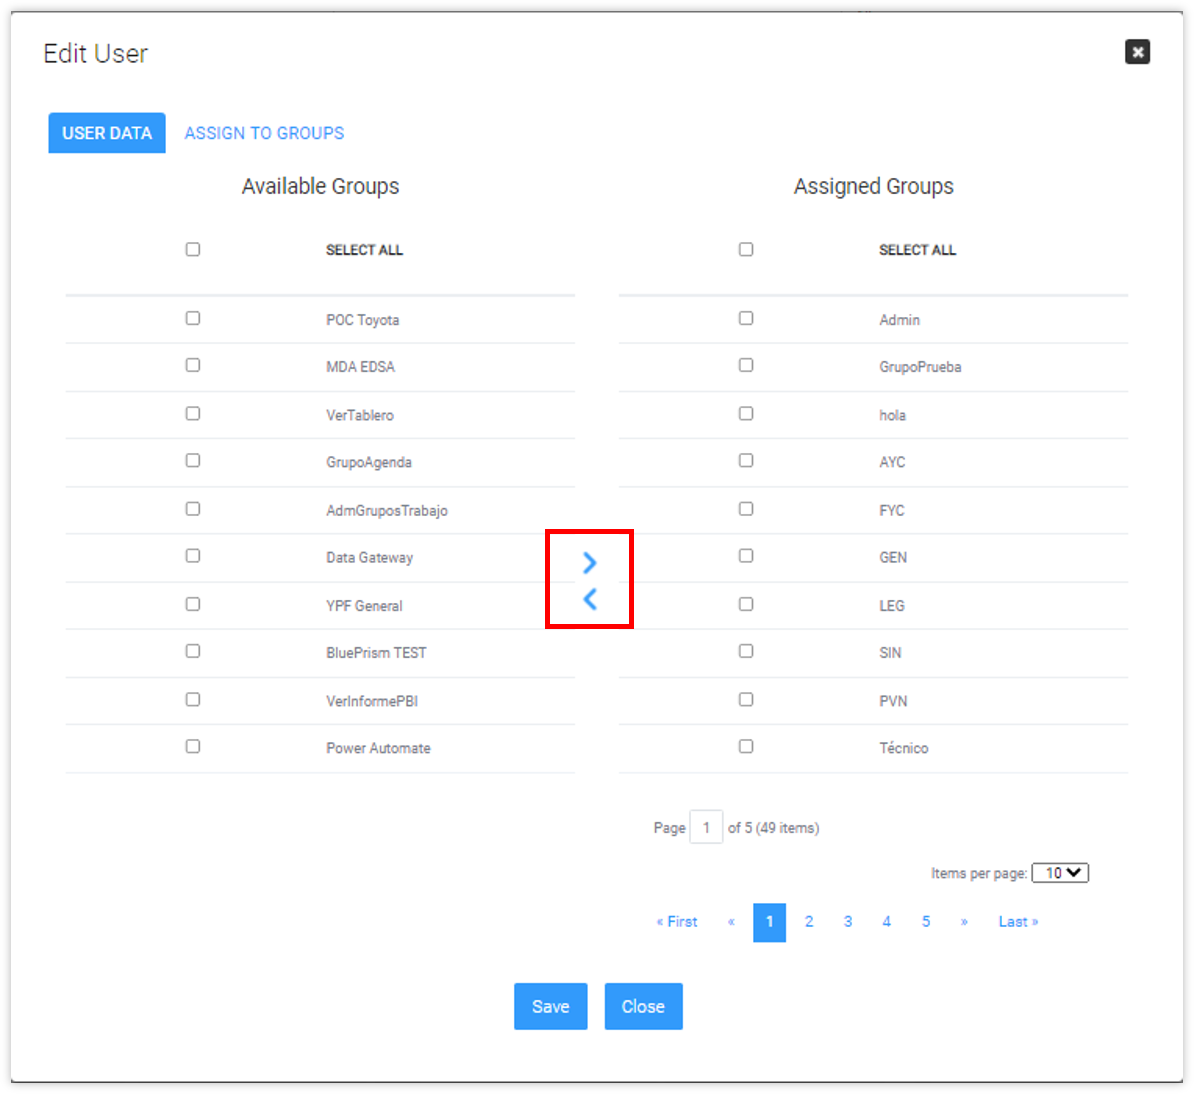
 button.
After this action, the system displays a confirmation message:
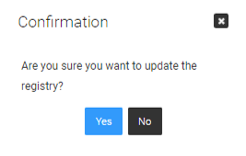
 button or on the
  button
After this action, the system displays a confirmation message:

 button on the grid of the **User Management** screen.
After this action, the system displays the following message:
